This article builds upon the previous article How to use Local with GitLab where as a serendipitous bonus we covered setting up LocalWP with WordPress as a SubDirectory based MultiSite. The process is very similar however running WordPress MultiSite with sub domains requires a little more finesse. Like the last article we will replace the wp-content directory with a symlinked Git repository therefore this article will focus on the main MultiSite sub domain setup processes.
One of the things that makes setting up WordPress MultiSite as a sub domain installation challenging is the additional DNS configuration and potential issues with SSL certificates. Since this is a local installation we will not be overly concerned with the latter and there are essentially two ways of dealing with the sub domain DNS issues. The first is to modify the local host file and the other is to run with some sort of DNS server.
Again before we jump too far in if you have not updated the defaults as outlined in the previous article I highly recommend that you take the time to do so before you begin here. In my opinion the single most important thing you can do is remove the annoying space in the Local Sites site path. Trust me it will save you a lost of trouble in the future if your do this as the space is superfluous and just gets in the way. Start by opening the default settings page.
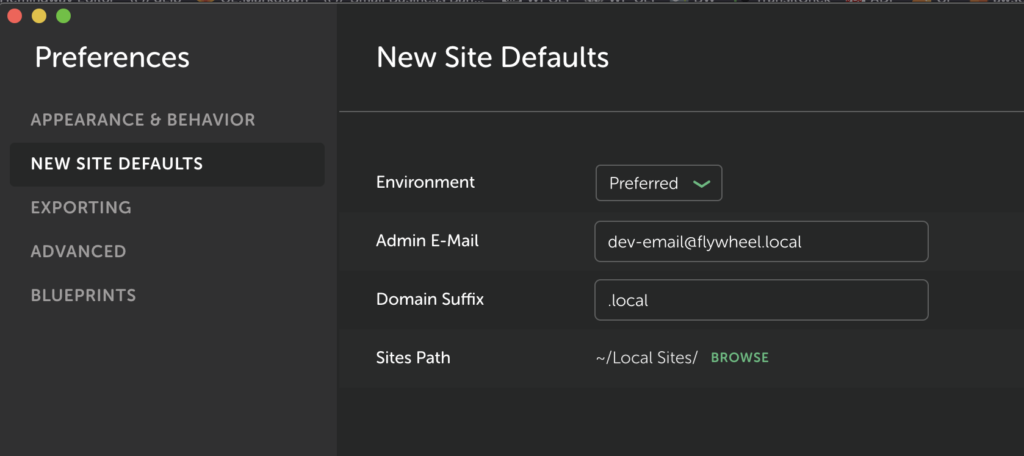
Click BROWSE highlighted in green and open the filesystem dialog.
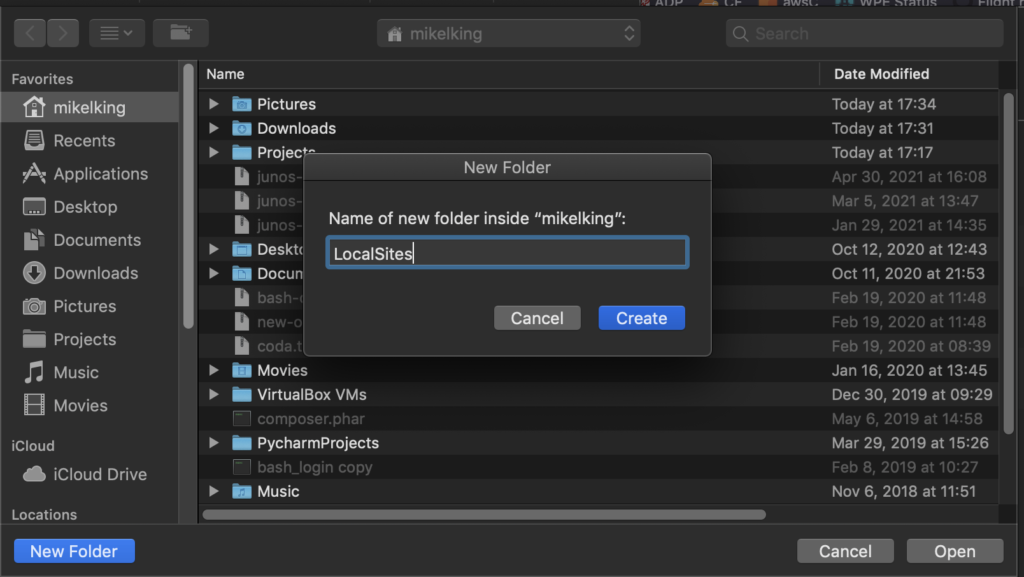
Enter LocalSites without the space you can make this all lower case if you prefer. In fact if your filesystem is case sensitive then you may wish to do so. In any event once you are satisfied click create and then open to set the new default path. Then return to the main screen.
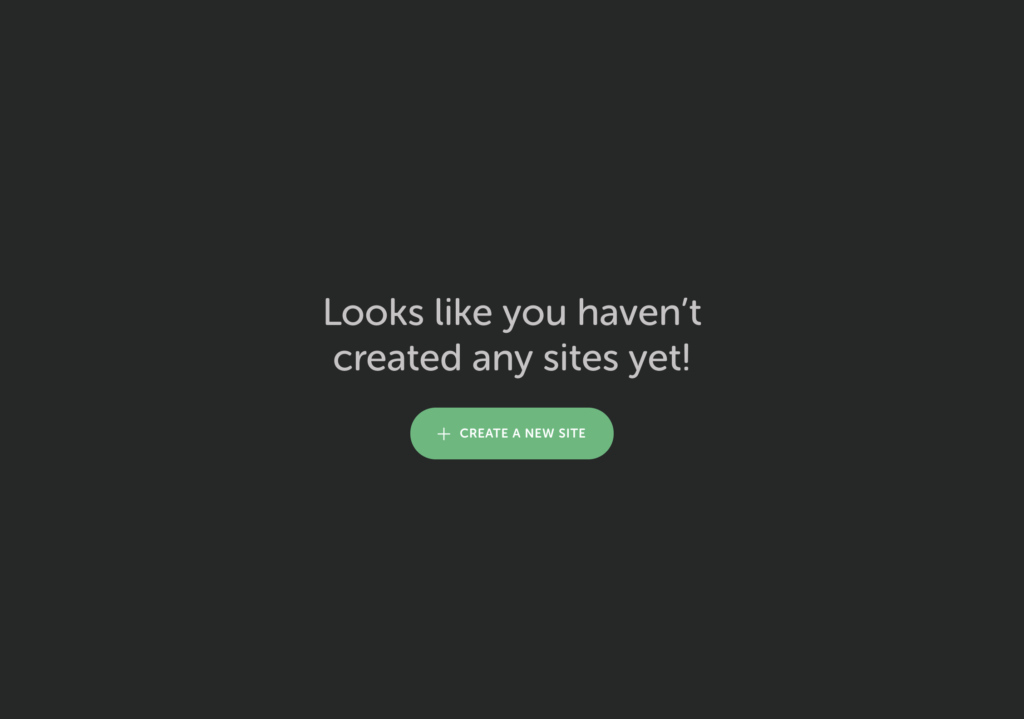
Click CREATE A NEW SITE and proceed to the next screen to choose your environment and configure the local engine.
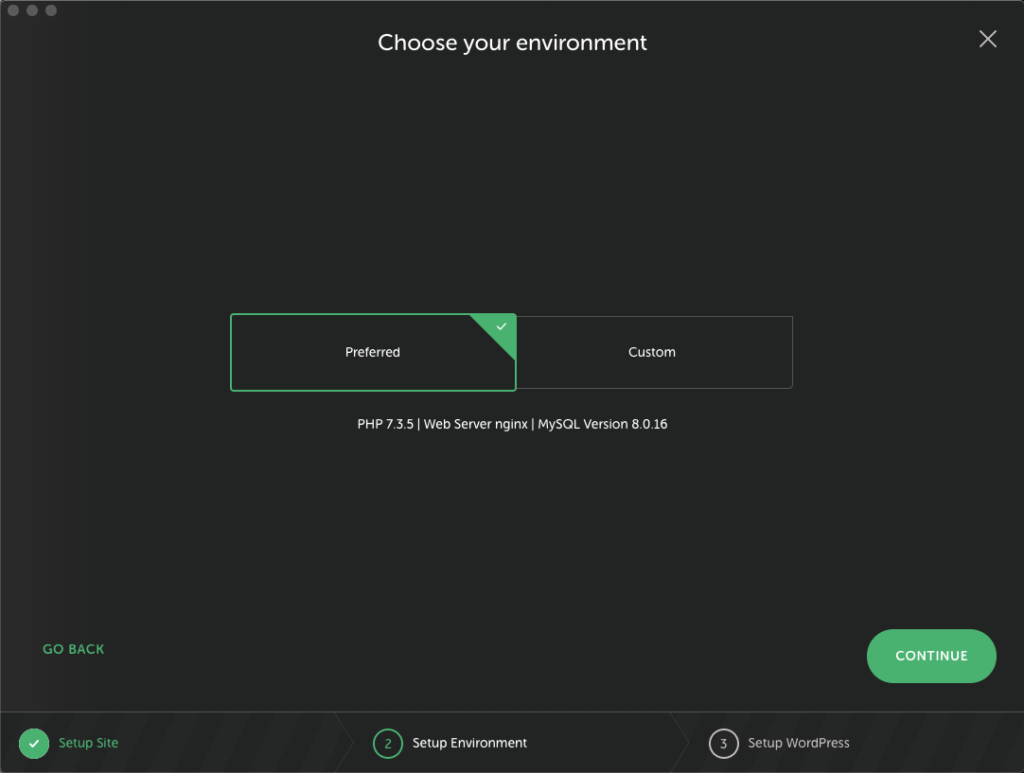
As you can see I recommend using the preferred configuration at this point. Sure it would be nice if it defaulted to PHP7.4 but honestly that’s the only change I would make at this point. In the next screen we will take a slightly deeper dive into the site setup.
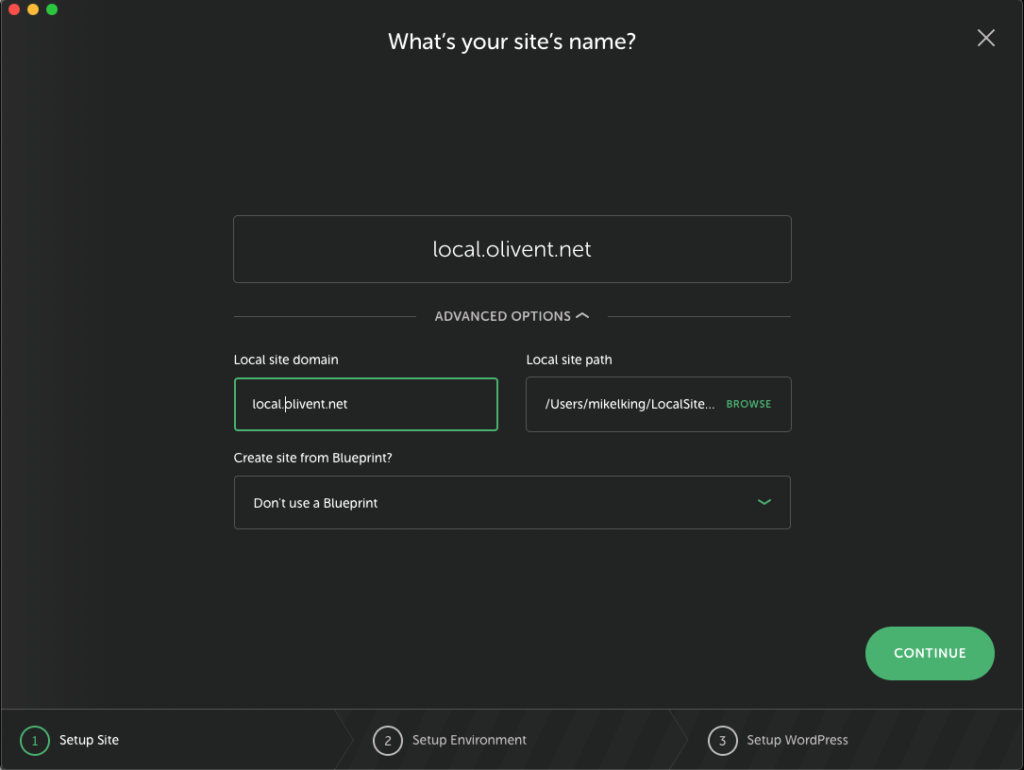
Here’s where things get interesting. Typically one would setup a local environment with a .local TLD (top level domain). However, in this example you can see that I have actually opted for a publicly routeable TLD. If you do the same pay particular attention to the advanced settings because the local app tries to clever by compressing all of the domain segments into a single entity with a .local TLD. I had to remove everything and reenter it a second time in this field.
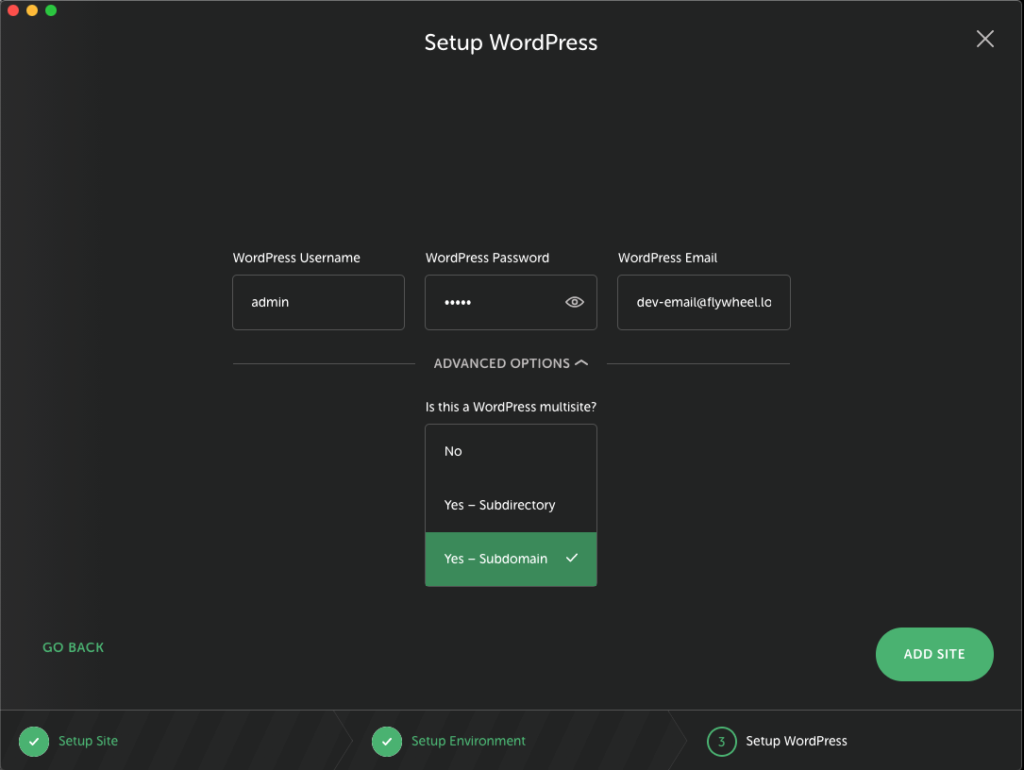
There is a lot to unpack in the preceding screen. I have set the admin user ID and set a password as well as selected the subdomain multisite installation. This is critical because converting an existing site is far more challenging and far outside the scope of this tutorial. When you are finished click ADD SITE. During the setup the system will prompt you for the computers’ administrative credentials. Once complete it will present a detailed summary screen.
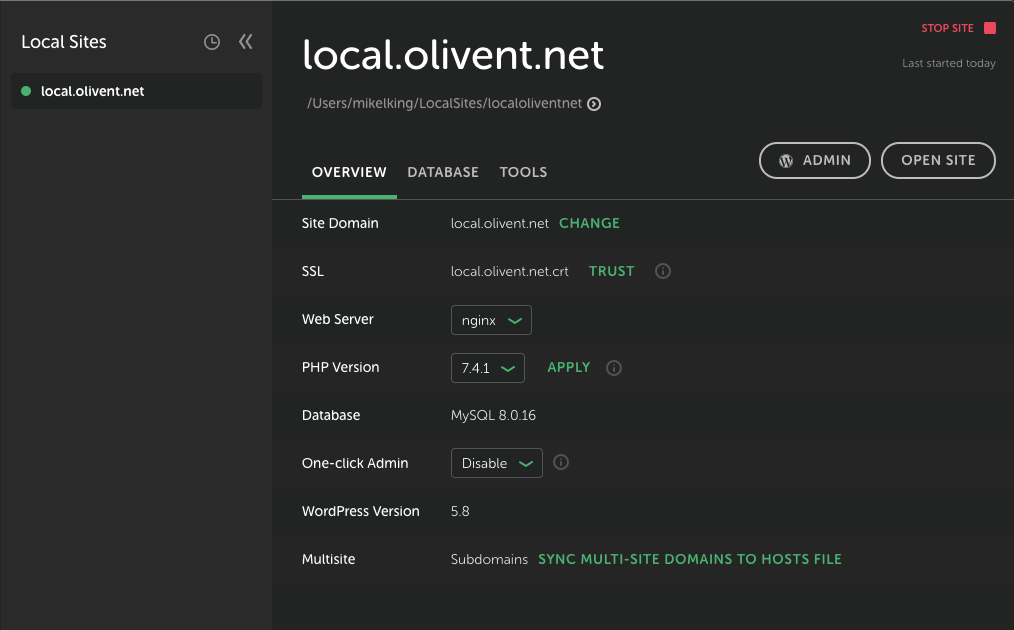
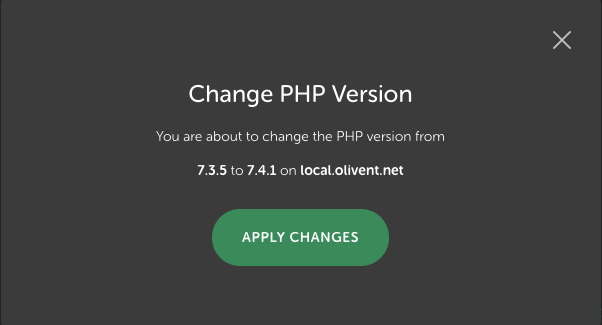
You will notice upon reviewing the following summary screen that the PHP version has been changes from 7.3.5 to 7.4.1.
You still need to hit apply and then confirm the change to this new version of PHP before testing the site operations.
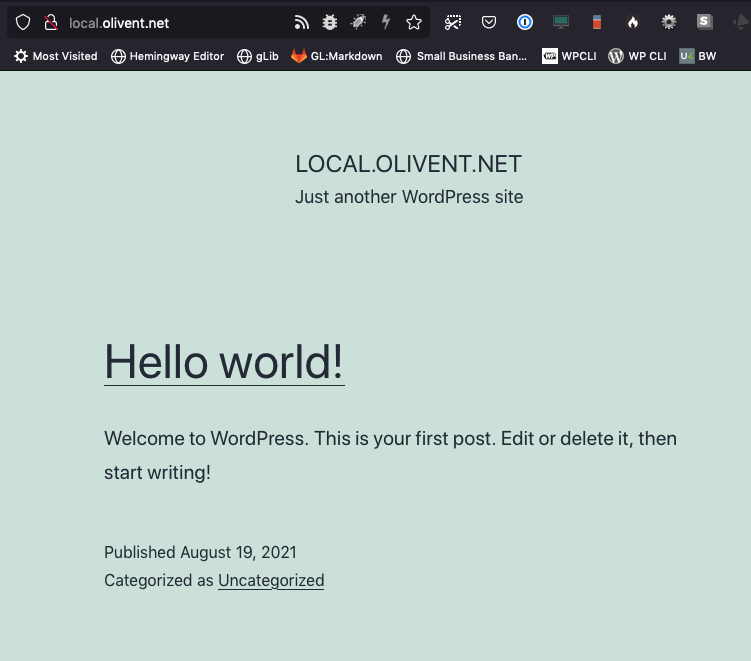
Click the OPEN SITE button on the summary screen and you should have a standard WordPress starter site load in your default browser.
Return to the application and click the ADMIN button and once the WordPress login screen loads log into this new installation using the credentials you set previously.
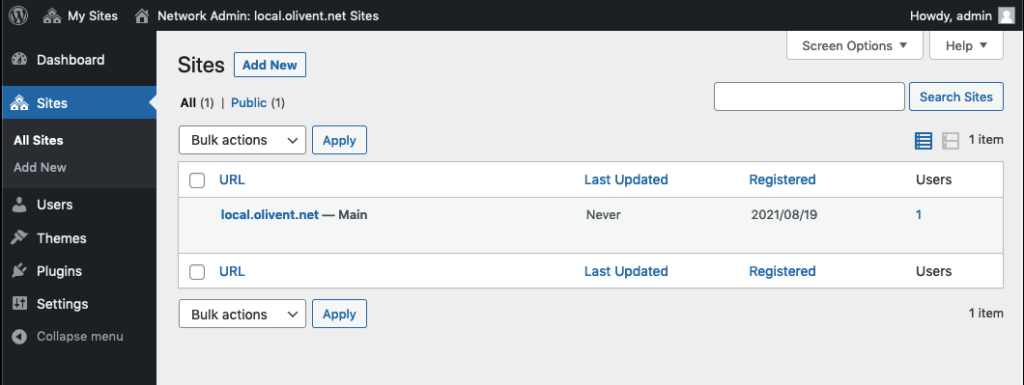
At this point you need to follow the basic WordPress site setup for a MultiSite environment. I recommend that you diligently ensure that your local system is structured the same as your production system. So if you have 10 sites in your MultiSite cluster create them in the same exact order they appear in your production system. As with the previous article (How to use Local with GitLab) I highly recommend using WP Migrate DB Pro to export each individual site and all of it’s related tables so that you can easily migrate form production to your new local MultiSite.
I will offer some advice because the process is nearly identical.
- Follow the steps in the previous article for swapping out the wp-content directory with your git repository.
- Setting up your local subdomain sites should mimic our production structure.
- If you have opted for publicly accessible DNS as in this example you will want to ensure that each sub-subdomain is properly DNSd. For Instance if one of your production sites was tool-tips.com then I would setup the local as tt.local.olivent.net and ensure that this was properly DNSd wiiht an A record pointing to 127.0.0.1.
- However if you rolled with the default .local TLD based system you will NEED to click the SYNC MULTI-SITE DOMAINS TO HOSTS FILE button.
As long as you have properly DNSd the local sites publicly and have an active internet connection you may skip this step.
I hope that you’ve found this additional tutorial helpful and that you are able to embrace the changes necessary to successfully configure your local WordPress MultiSite subdomain environment.


Leave a Reply